Hardware: Most current Epson printers, plus a range of legacy (pre-2016) models.
Description
Most Epson printers can print and scan using Chrome OS's built-in features, with no additional Epson software or drivers required.
Solution
Epson products are supported on Chrome OS 89 or later.
Printing on Chrome OS is supported only through the built-in Chrome OS printing system. Installing additional printer drivers is not supported.
Scanning on Chrome OS is supported only through the built-in Chrome OS Scan app. Additional scanner software or drivers, such as Epson Scan 2, cannot be installed.
Note: Make sure your printer is turned on and connected to the same network as your Chromebook — or connected directly via USB cable — before starting.
Automatic Setup
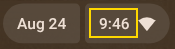
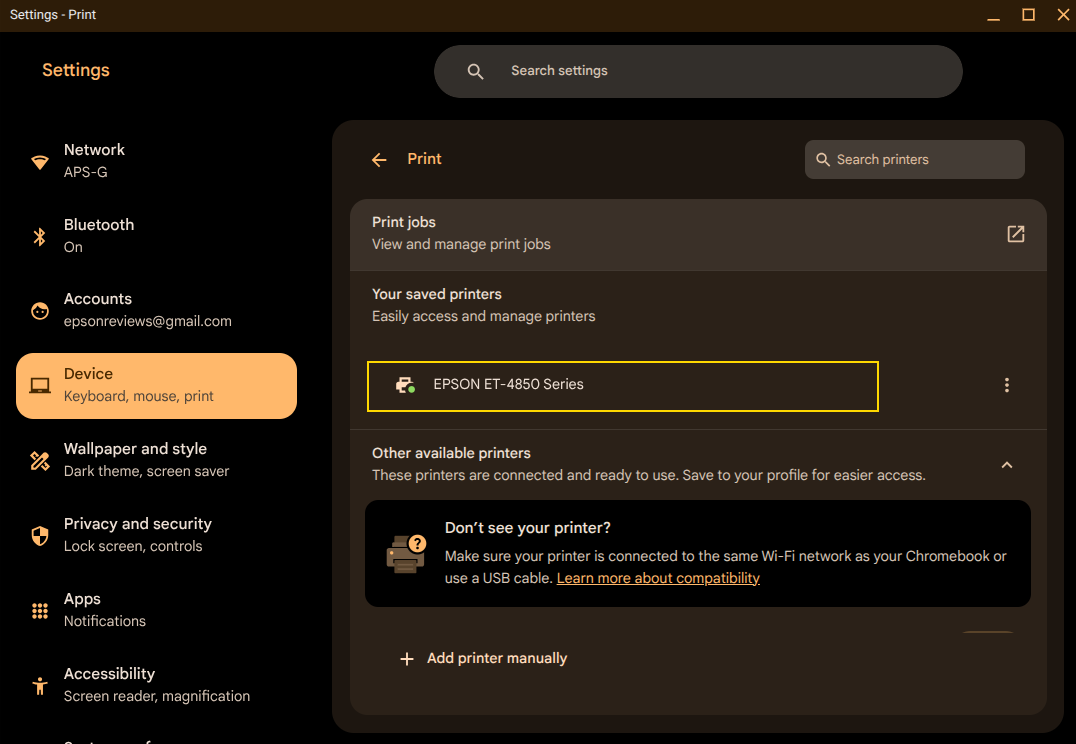
At the bottom right of your Chromebook, select the time.
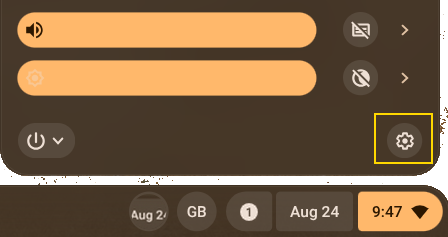
Select Settings (gear icon).
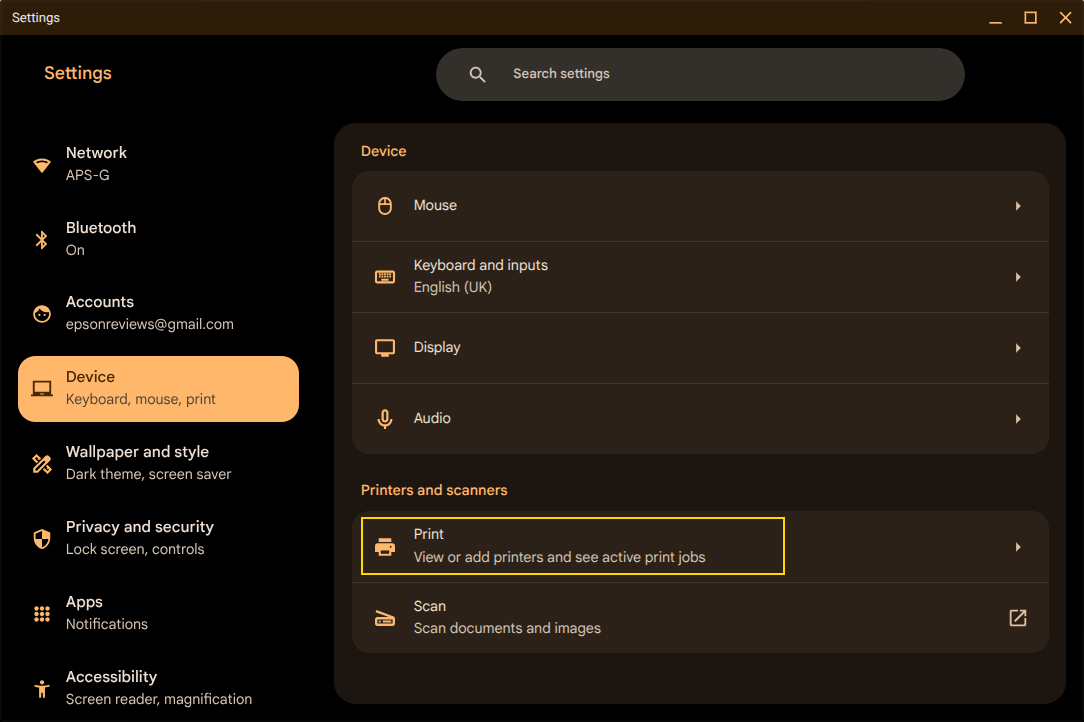
Under Device, scroll down and select Printers and scanners.
Select Print.
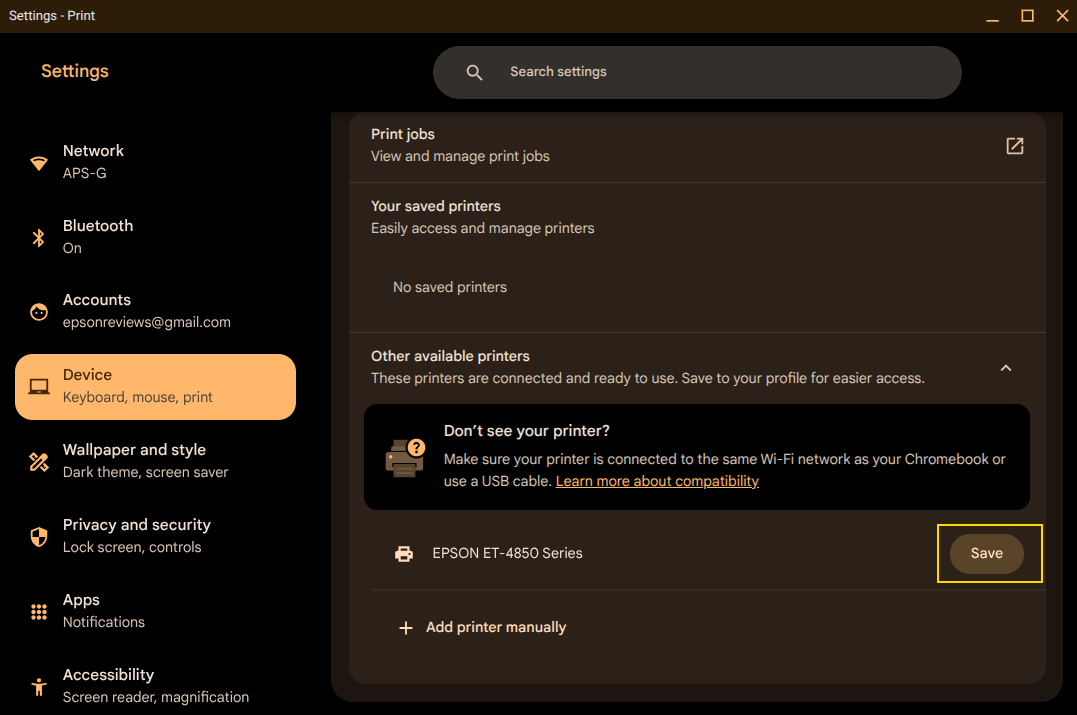
Under Other available printers, find your printer and click Save.
Under Your saved printers, confirm your printer now appears at the top of the list.
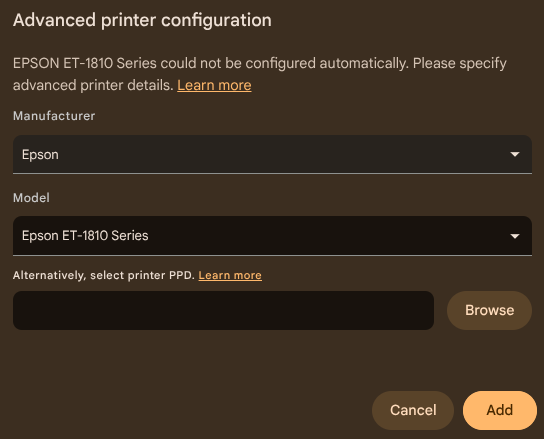
Note: In some cases, you may be prompted to select a Manufacturer and Model. Select Epson as the Manufacturer, then choose the correct printer model and click Add.
If your printer model is not listed, select Generic ESC/P-R. Do not select Epson Generic ESC/P-R if it is shown, as this is a different driver and may not function correctly.
Tip: You can also select your printer directly from the print dialog — press Ctrl+P, select the down arrow next to Destination, then select See more to find it.
Manual Setup
If your printer doesn't appear automatically, add it manually instead:
At the bottom right of your Chromebook, select the time, then select Settings.
Under Device, select Printers and scanners.
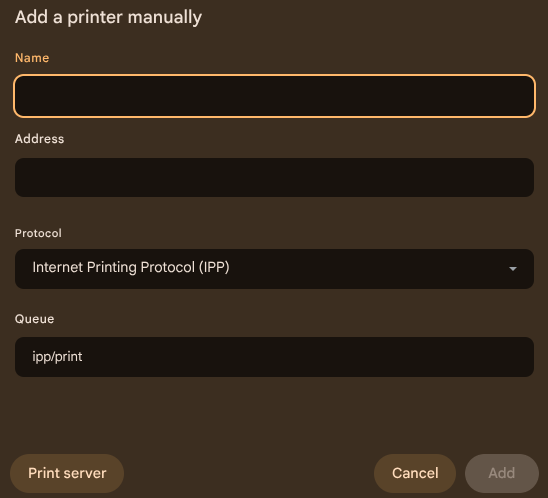
Select Print, then select Other available printers, then Add printer manually.
Enter a Name for the printer.
Enter the printer's Address (its IP address — check your printer's network settings, or print a network status sheet, to find this).
Set Protocol to IPP (Internet Printing Protocol) — this works for most printers.
Set Queue to ipp/print — this also works for most printers.
Select Add.
Checking Compatibility
Most current Epson printers are supported on Chrome OS, including models from the following product ranges:
AcuLaser
EcoTank (ET and L Series)
Expression Home, Premium and Photo
SureColor
WorkForce
WorkForce Pro
Many legacy Epson printers released before 2016 are also supported, including selected EcoTank, Expression, Stylus and WorkForce models.