KA-01452 (Add a Network Scanner to Epson Scan 2 (Windows and macOS))
Description
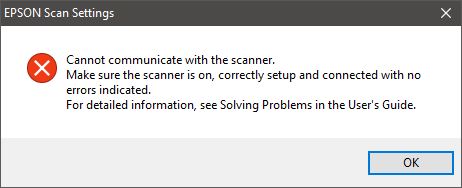
If Epson Scan displays the message "Cannot Communicate with the Scanner", the scanner may not be available through the selected connection method, may not be configured correctly in Epson Scan Settings, or communication may be blocked by Windows.
Symptoms
Epson Scan displays "Cannot Communicate with the Scanner".
The scanner is connected but cannot be detected.
The scanner appears in Epson Scan Settings but the Test button fails.
Scanning worked previously but has stopped working.
Solution
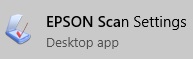
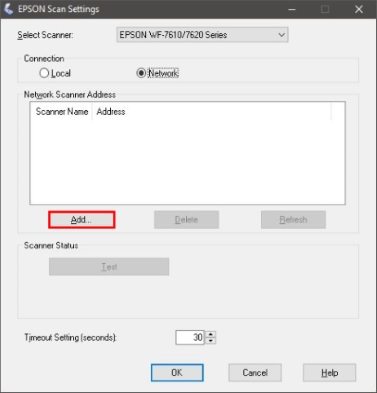
Open Epson Scan Settings.
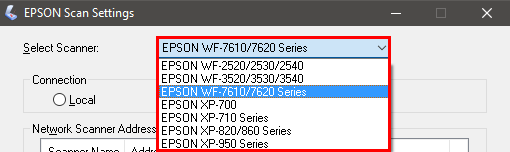
Select your product from the drop-down list.
<
Note: If your product doesn't show in the drop-down list, download and install the EPSON Scan software for your device from the Epson website.
Follow whichever section below matches how your product is connected.
After each step below, try clicking Test again before moving to the next one.
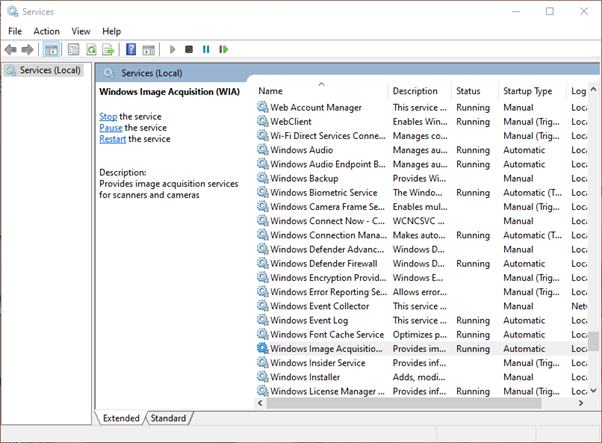
Windows 11: Restart the Windows Image Acquisition (WIA) service. Communication problems between Epson Scan and the scanner can occur if this service has stopped or is not responding
Type services into the Windows search bar and open Services.
Scroll down the list to find Windows Image Acquisition (WIA).
Right-click it and select Restart (or select it and click Restart on the left side of the window).
Check the product is powered on. If it won't power on: make sure the power cable is plugged directly into a wall outlet, not an extension cable, and try a different power cable.
Unplug the USB cable and reconnect it at both ends. Make sure the cable isn't damaged and is no longer than 1.8m — longer cables can cause communication issues.
Try a different USB cable.
In Windows Device Manager, confirm your scanner's name appears under Imaging Devices without a question mark, exclamation mark, or red X. If it shows with one of these marks, or as an unknown device, uninstall and reinstall EPSON Scan.
Network Connection (Wi-Fi or Ethernet)
Set Connection Type to Network.
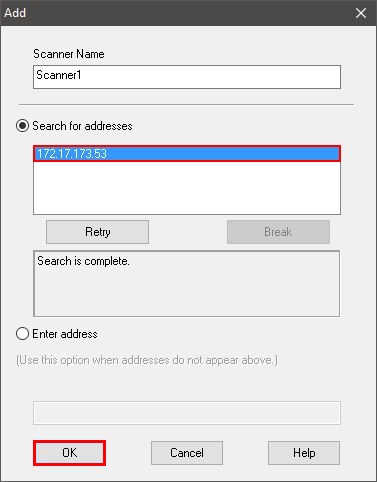
Click Add.
Click the IP address shown in the list, then click OK.
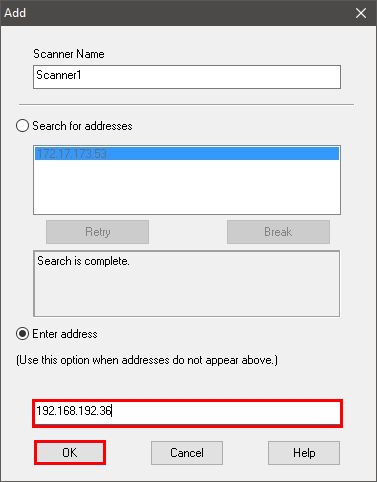
Note: If the IP address isn't shown, click Enter Address and type the product's IP address directly, then click OK.
Click Test.
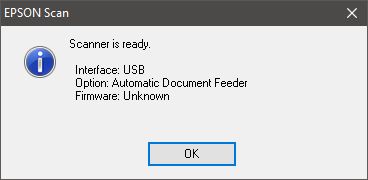
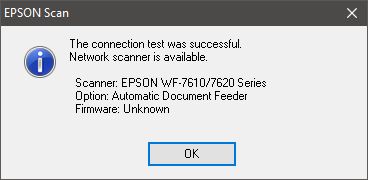
If the Test Is Successful
Click OK.
Click OK to close Epson Scan Settings.
Your product is now ready to scan wirelessly.
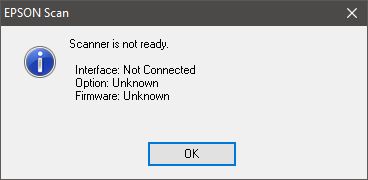
If the Test Is Unsuccessful
Click OK.
Make sure the product is powered on.
Print a network status sheet, or check the scanner's network settings directly, to confirm:
If using Wi-Fi, that both devices are connected to the same network SSID.
That the correct IP address for the product is listed in the scanner list.
Click Test again.
Note:
If the scanner still cannot communicate after completing the relevant USB or Network troubleshooting steps, uninstall and reinstall Epson Scan, then reconfigure the scanner connection. If the issue persists, contact Epson Support.