WorkForce RIPS: How do I change the ink packs?
Relates to
- Replacing ink packs
- WorkForce Pro:
- WF-R5190
- WF-R5690
- WF-R8590
If an ink pack is low or expended, a message appears on your product and computer screen. Note which ink packs need to be replaced.
 Warning: Warning: |
|---|
|
Make sure you have your replacement ink packs handy before you begin. You must install new ink packs immediately after removing the old ones. |
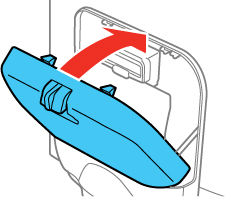
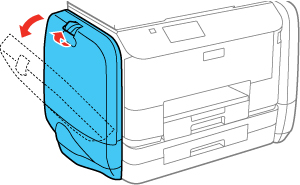
- Open the ink case.
 Note:
Note:The illustrations in this section show the black ink pack, but the procedure is the same for the colour ink packs on the other side of the product.
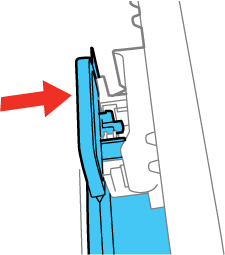
- Press the handle on the ink pack you are replacing.
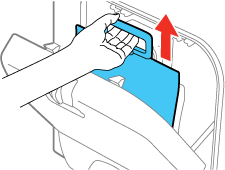
- Lift up the ink pack and remove it from the ink case.
- Unpack the new ink pack
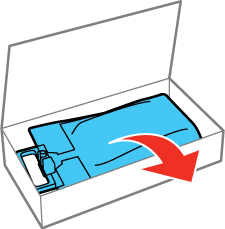
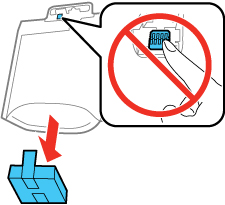
- Remove any protective materials, and do not touch the green chip on the handle area.
- Shake the ink pack horizontally 20 times as shown.
Note:
Do not remove any labels or seals, or the ink will leak.
- Place the ink pack in the case. Make sure the bottom of the ink pack fits over the base as shown.
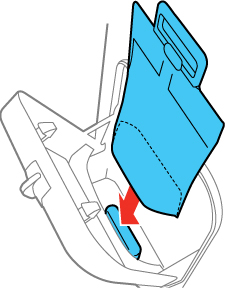
- Place the ink pack handle on the holder as shown.
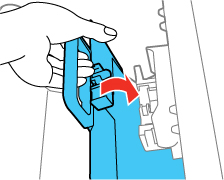
- Press in the handle until it clicks into place.
- Select Check on the LCD screen to make sure the ink packs are installed correctly.
- When you are finished, close the ink case.