Hardware: Epson scanners and All-In-One products supported on Chrome OS.
Related Articles:KA-01099 (setting up Chromebook printing)
Description
Chrome OS includes a built-in Scan app that works with supported Epson scanners and All-In-One products, without needing separate scanning software installed.
Solution
Note: Ensure the scanner is powered on and connected to the same network as your Chromebook before starting. Chrome OS does not support scanning over Bluetooth.
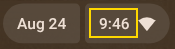
At the bottom right of your Chromebook, select the time.
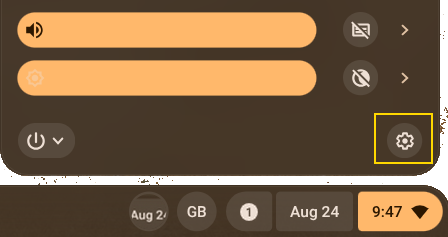
Select Settings (gear icon).
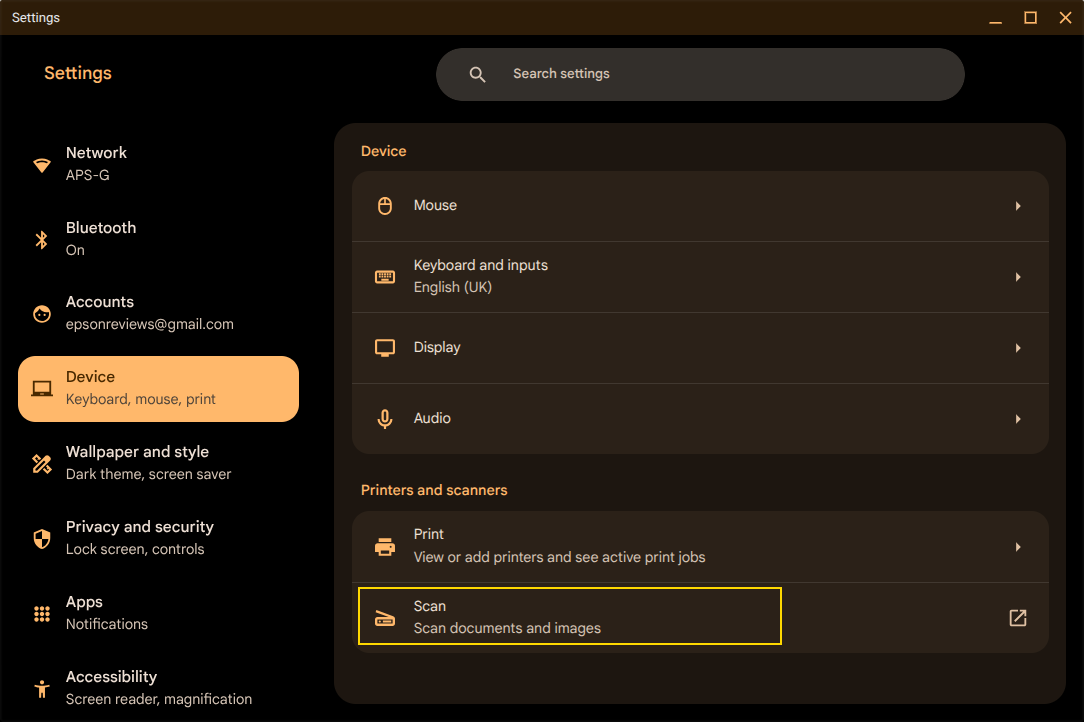
Under Device, scroll down and select Printers and scanners.
Select Scan. This opens the Scan app and searches for available scanners on the network.
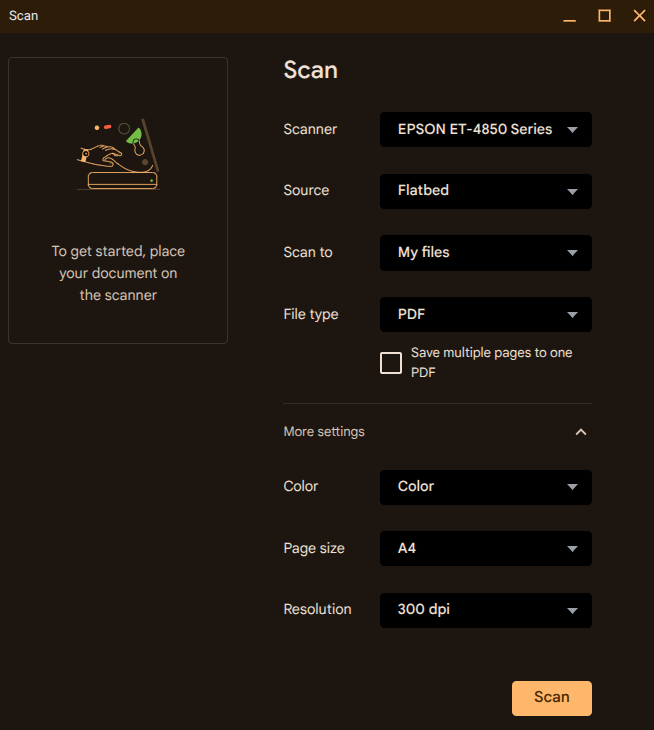
In the Scan window, select the down arrow menu to choose your scanner, if it isn't already selected.
Place your document on the scanner glass or in the document feeder.
Adjust your scan settings as needed — click More settings to customise colour mode, page size, resolution, and where the scan is saved.
Note: Available scan settings and advanced features vary depending on the scanner model and the capabilities supported by the Chrome OS Scan app.
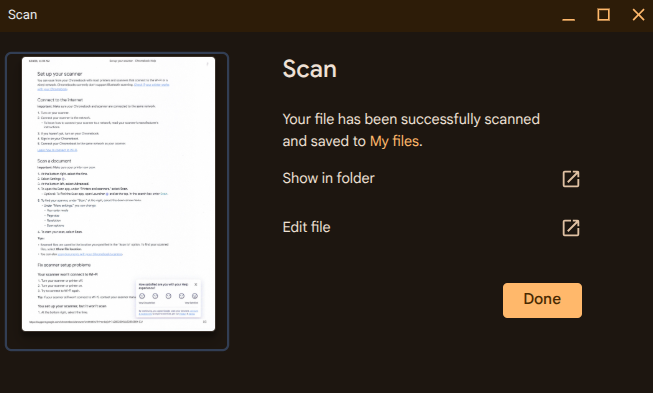
Click the Scan button.
Once finished, click Show in folder to locate your scanned file.
Note: Epson Scan 2 and other Epson scanning utilities cannot be installed on Chrome OS.
Tip: You can also open the Scan app directly from the Launcher by searching for "Scan".