Scanning over a network using Epson Scan 2
Applies To
- Operating Systems: Windows 11, Windows 10, macOS
- Hardware: Epson scanners and All-in-One printers connected over a network or Wi-Fi connection
- Software: Epson Scan 2
- Related Articles:
Description
By default, Epson Scan 2 is set to scan using a USB cable. To scan over a network or Wi-Fi connection instead, your scanner or All-in-One printer needs to be added to Epson Scan 2 manually, using its IP address. Your device must be connected to the same network as your computer before you begin.
Symptoms
- You're setting up network or Wi-Fi scanning for the first time
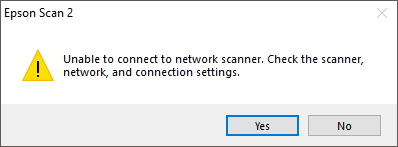
- Opening Epson Scan 2 shows: "Unable to connect to network scanner. Check the scanner, network, and connection settings."
- Your scanner or printer doesn't appear in the list when you try to add it
Solution
Install Epson Scan 2, if you haven't already
-
Go to epson.com and select your local Epson website.

-
Select Support.

-
Enter your product name or serial number.

-
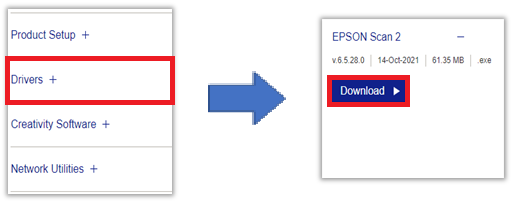
Select Drivers, then select Epson Scan 2 and download it.
-
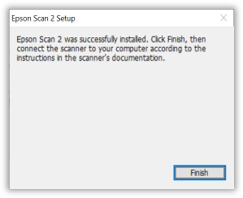
Open the downloaded file and follow the on-screen prompts to install it.
Add your scanner over the network
The Scanner Settings screen appears automatically the first time you start Epson Scan 2.
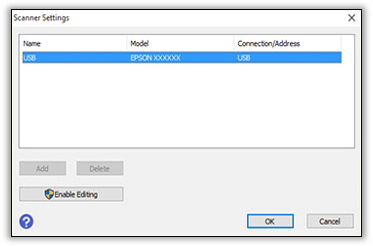
To open it directly at any other time:
Windows 11
- Select Start.
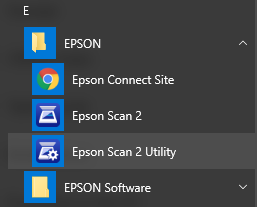
- Select All apps > EPSON > Epson Scan 2 Utility.
Windows 10
- Select Start.
- Select All apps > EPSON > Epson Scan 2 Utility.
macOS
- Open Finder and select Go > Applications.
- Open the Epson Software folder.
- Select Epson Scan 2, then select Settings from the Scanner menu.
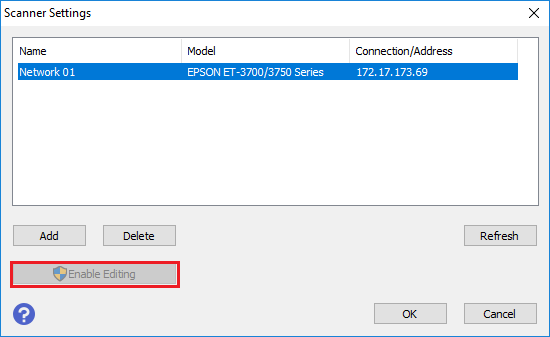
Note: If Add and Delete appear greyed out on Windows, select Enable Editing, then allow changes in the User Account Control window. On macOS, click the key icon and enter an administrator username and password to make changes.
-
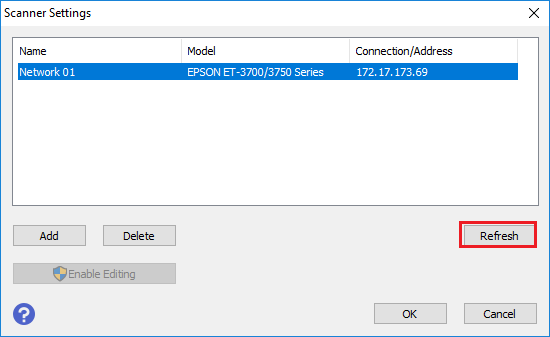
If your device isn't listed, select Refresh.
-
If it's still not listed, select Enable Editing.
-
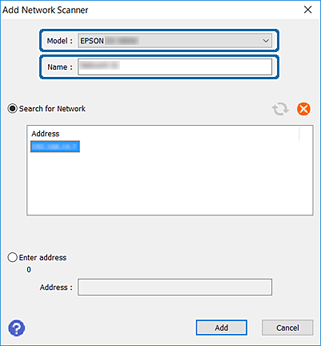
Select Add.

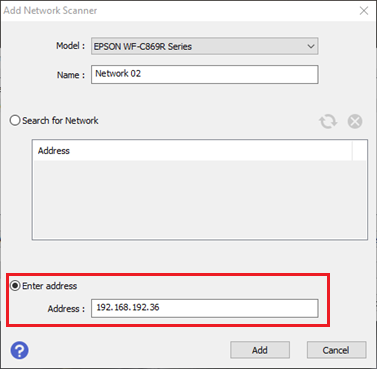
- Select your printer or scanner from Model.
-
Enter a name for it in Name.
-
Select its IP address from the list, then select Add.

Note: If the IP address isn't shown in the list, select Enter Address and type it in directly, then select Add. You can't search for a device on a different network segment across a router this way.
- Select OK on the Scanner Settings screen.
Close the Scanner Settings screen (or Epson Scan 2 Utility) and open Epson Scan 2. You should now be able to scan over the network.