Epson Scan 2 | Overview of Features, Settings and Modes
Applies To
- Operating Systems: Windows 11, Windows 10, macOS
- Hardware: Epson scanners and All-in-One (multifunction) printers with Epson Scan 2 installed
- Software: Epson Scan 2 (the scanning driver/interface — accessed directly, or from any TWAIN-compatible application on Windows or ICA-compatible application on macOS)
-
Related Articles:
- KA-01833: Epson Scan 2 Utility: Overview of Features and Settings — the separate device-maintenance utility (counters, power save, scanner-specific settings), not covered in this article
- KA-01831: Scanning Over a Network Using Epson Scan 2 — how to add and configure a network/Wi-Fi scanner
Key Features
- Document and Photo scanning modes.
- Automatic image corrections.
- Preview and cropping tools.
- Multi-page PDF and Multi-TIFF support.
- Custom scan presets.
- Network scanner support.
Description
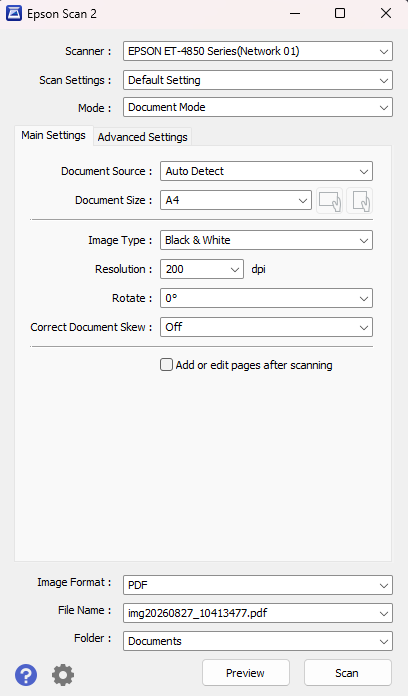
Epson Scan 2 is Epson's scanning software, bundled with compatible Epson scanners and All-in-One printers. It provides basic scanning controls in Document Mode and advanced, photo-editing-oriented controls in Photo Mode, along with a live preview, page-editing tools, and flexible file-saving options. This article explains what each part of the Epson Scan 2 window does.
Note: Available settings and screens can vary by scanner model. For the exact options on your product, check its User's Guide.
Starting Epson Scan 2
Use the table below for a quick reference, or expand your operating system for full steps.
| Operating System | Path to Open Epson Scan 2 |
|---|---|
| Windows 11 | Start > All apps > EPSON > Epson Scan 2 > Epson Scan 2 |
| Windows 10 | Start > All apps > EPSON > Epson Scan 2 > Epson Scan 2 |
| macOS | Finder > Go > Applications > Epson Software > Epson Scan 2 |
Windows 11
- Select Start.
- Select All apps > EPSON > Epson Scan 2 > Epson Scan 2.
Note: Depending on your Windows 11 update level, the Start menu's "All apps" list may appear as a separate screen or as an "All" section directly on the Start menu itself. Both lead to the same alphabetical list of installed apps.
Windows 10
- Select Start.
- Select All apps > EPSON > Epson Scan 2 > Epson Scan 2.
macOS
- Open Finder.
- In the menu bar, select Go > Applications.
- Open the Epson Software folder.
- Select Epson Scan 2.
Note: The first time Epson Scan 2 starts, the Scanner Settings window opens automatically so you can select and configure your scanner. On later launches, reopen this at any time from the Scanner section below. For adding a scanner over a network specifically, see KA-01831.
Solution
Expand a section below to learn what each part of Epson Scan 2 does.
Scanner:
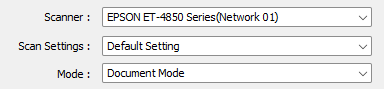
Scan Settings:
Mode:
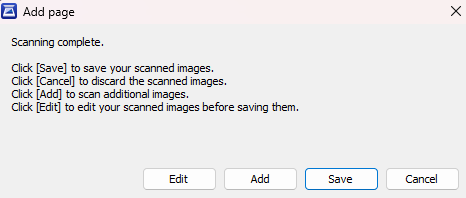
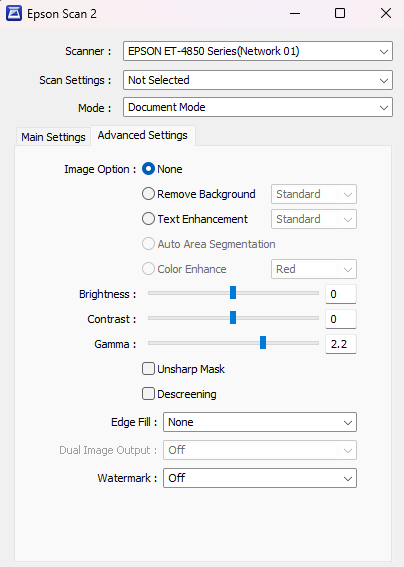
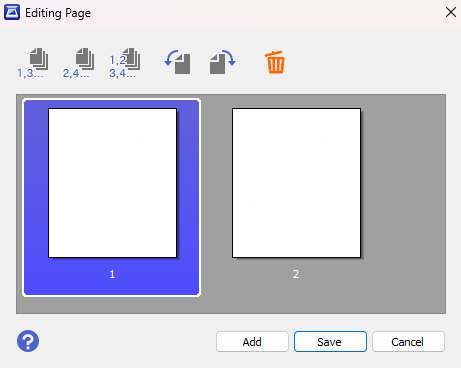
 - Selects all odd numbered pages.
 - Selects all even numbered pages.
 - Selects all pages.
 - Rotates the selected page 90 degrees counter-clockwise. You can rotate multiple pages at the same time.
 - Rotates the selected page 90 degrees clockwise. You can rotate multiple pages at the same time.
 - Deletes the selected pages.
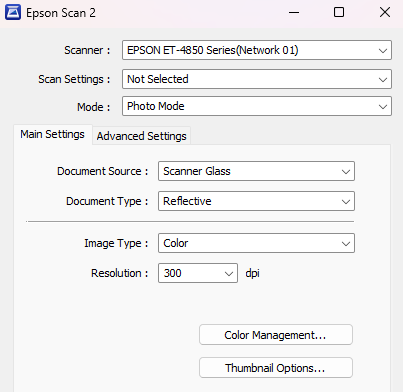
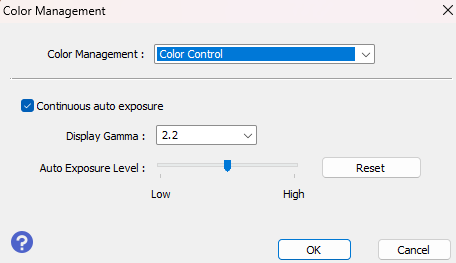
Image Format/File Name:
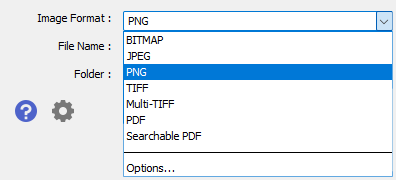
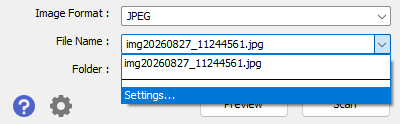
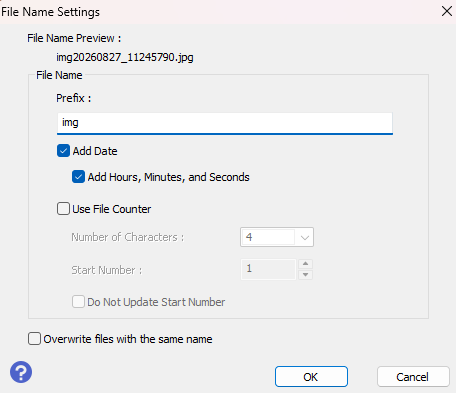
Folder:
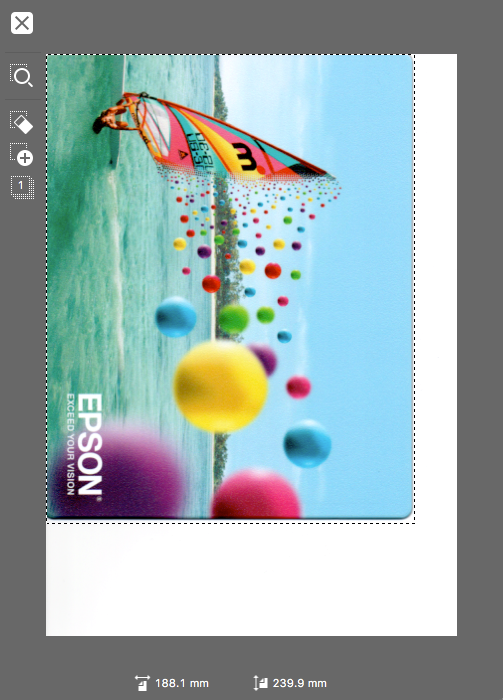
Preview
 - Close: This discards the current preview scan.
 - Zoom: This crops the scanned image to the selected area.
 - Remove Marquee: Removes the currently selected marquee.
 - Copy Marquee: Duplicates the currently selected marquee.
 - Select All Marquees: Selects all marquees in the preview window.
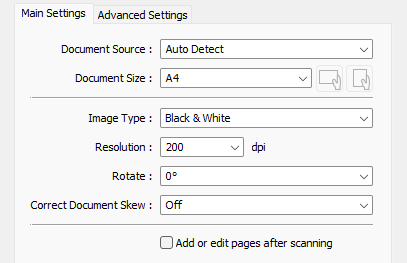
What is Correct Document Skew, what is it supposed to do?
What is Edge fill, what is it supposed to do?
How do you specify a different destination/folder for scanned images?