C7500: Local Network Printer Setup in Windows
Relates To:
- Using EpsonNet config to find the IP address of the printer
- Setting up a driver with standard TCP/IP connection with the printer
Explanation:
This article will demonstrate how to set up the C7500 in a network/LAN environment in a Windows environment.
Finding the IP Address
EpsonNet Config can be installed from the Epson Biz website.
Once installed and running, it can be used to list all IP addresses of Epson printers in the network.
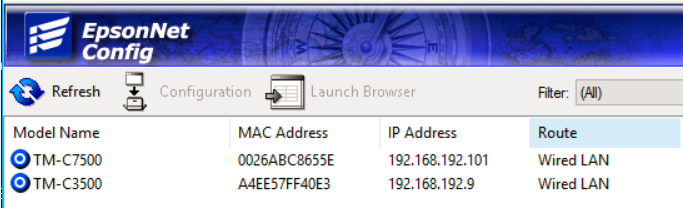
Now we can identify the correct IP address of the target printer.
In addition, this tool can change the configuration of the printer such as IP address, subnet mask and default gateway if necessary.
Creating a new Driver Instance
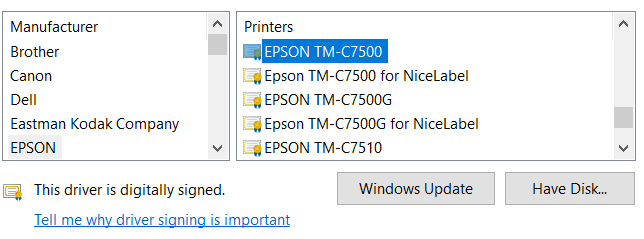
Finally select the currently installed driver. Once it has finished installing, the new printer driver instance will appear in Devices and Printers.
- In the Devices and Printers window, click Add a Printer to initiate the driver installation wizard.
- In the “Add a device” menu, select the option The printer I want isn’t listed
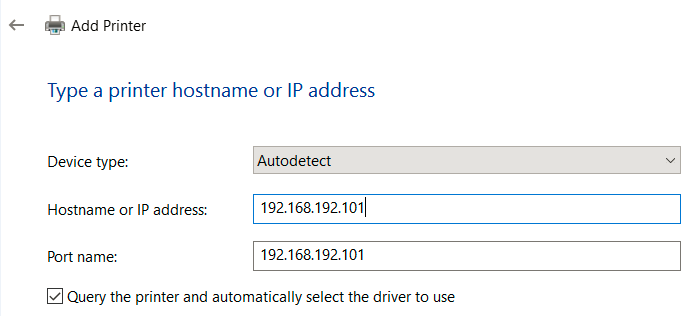
- Select the radio button Add a printer by TCP/IP address or hostname and click Next.
- To set up the C7500 type in the IP address.
- Next you will prompted to select the printer driver from the list of installed drivers in Windows.
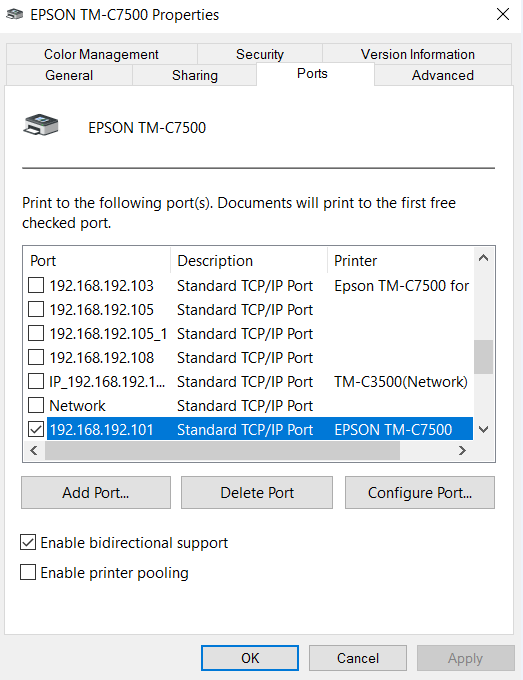
Port Management
In the driver properties - Ports will show a list of ports. We can use this interface to add and remove existing ports or change the selected port for this driver.