Epson Scan: Network setup
Epson Scan can be used to scan via a USB connection or using a wired or wireless (Wi-Fi) network connection.
By default Epson Scan is set to scan via a USB cable, and will present an error if Epson Scan is opened and a scanner is connected via a network or Wi-Fi connection.
The following article explains how to change the settings in Epson Scan to allow scanning via a network or Wi-Fi connection.
- Open Epson Scan Settings
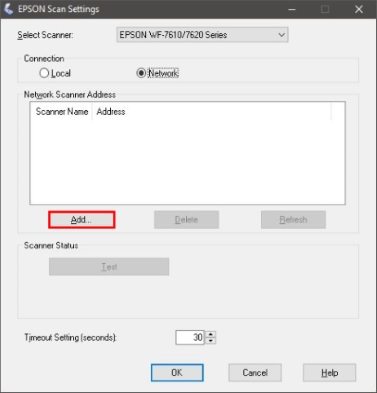
- Select your all in one printer or scanner from the drop down list.
 Note:
Note:If your product does not show in the drop down list, download and install the Epson Scan software for your device from the Epson website.
- Set Connection Type to Network.

- Click Add
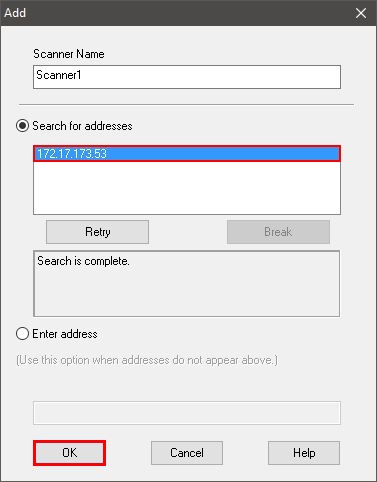
- Click the IP address in the list and click OK
 Note:
Note:If the IP address is not shown in the list click Enter Address
- Type in the IP address of the All in one printer or scanner
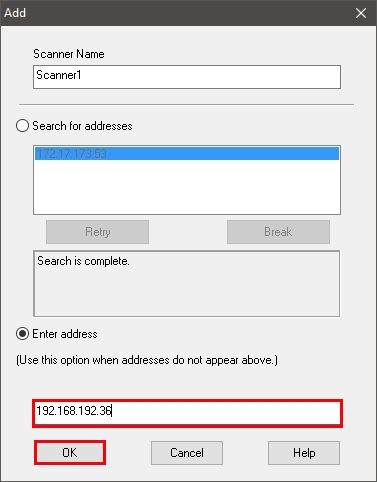
- Click OK
- Type in the IP address of the All in one printer or scanner
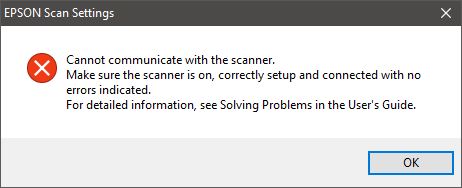
- Click Test
Successful Test Unsuccessful Test 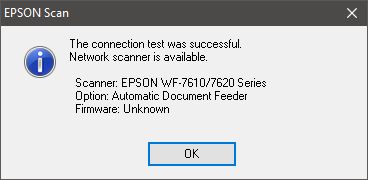
- Expand the section below depending on the test results.