How can I scan to a folder with Document Capture Pro Server?
- Windows Server 2008, Server 2008 R2, Server 2012, Server 2012 R2
- WorkForce DS-5500N, DS-6500N, DS-7500N, DS-50000N, DS-60000N, DS-70000N
To scan to a folder, you need to allow write access for Everyone or Network Service to that folder. For example if your folder is located in C:\myharddisk\myfolder\ you should give myfolder write access for Everyone. Follow the instructions below to do this:
- Right-click on your folder ("myfolder" in the example above) you want to save the scanned file to and click Properties.
- Click on the Security tab.
- Click Edit and select Write access for Everyone or Network Service.
Now use the following steps to set up a scan in Document Capture Pro Server (DCPS):
- Login to DCPS.
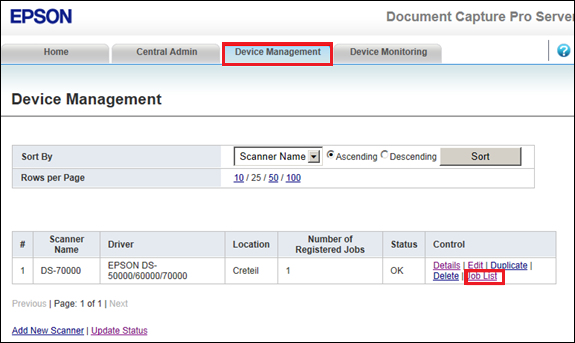
- Select Device Management and click Job List for your scanner.
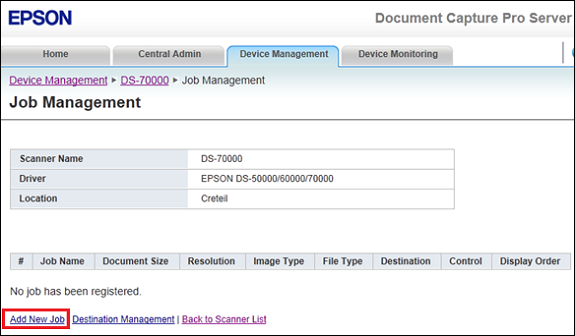
- Click Add New Job.
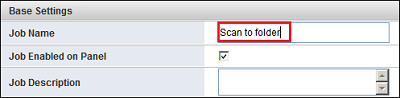
- Type in a Job Name; this could be a reminder of which folder you are scanning to or a specific type of document you are going to be scanning for example.
- Ensure the Job Enabled on Panel setting is ticked.
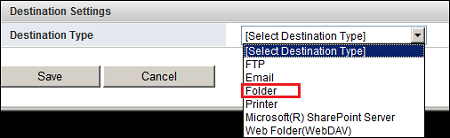
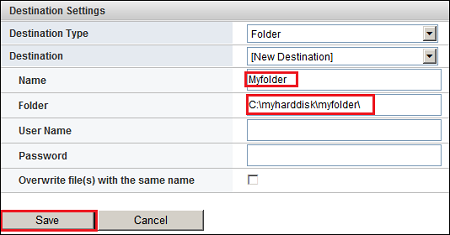
- Select Folder in the Destination Type drop-down list.
- Type in the folder name in the Name field.
- Type the file path for the folder in the Folder field, e.g. the example used below C:\myharddisk\myfolder\
- Click Save to complete the settings.
- To start the job using the scanner's control panel go to Job List and select the name of the job you have created (Scan to folder in the example used above).